May 5th, 2015
HOW TO BUILD A NO-SEW BENCH CUSHION
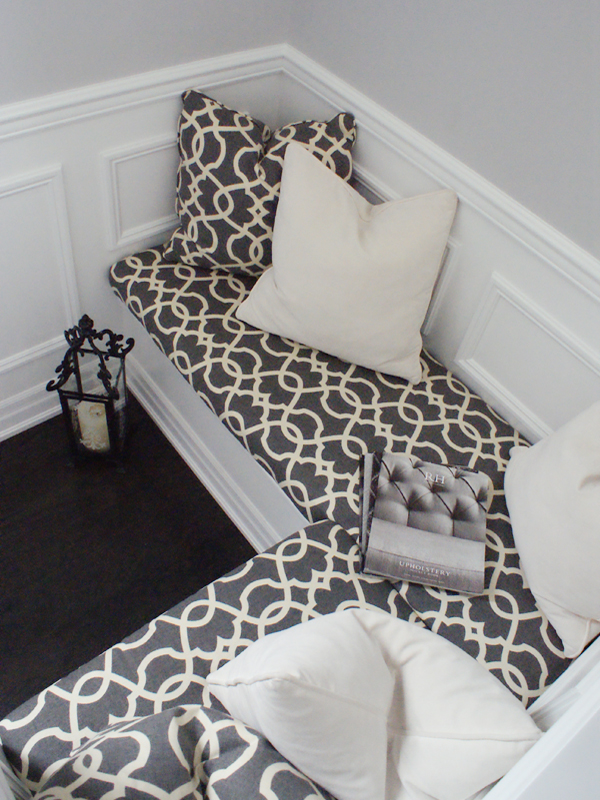
One thing we love about our new home is all the built-in benches. We have a fantastic window bench in our family room, a pair of benches in the mud-room, and this cozy little corner on the stairway landing just before you get to the second floor. I made the other two bench cushions immediately upon moving into the house because they were in spaces we used every day. This little area, however, has taken some time, partly due to the fact that a few months back my hubby happened to think that one of the main supplies for this project was scrap, and needless to say, it disappeared. So, having gathered up all my supplies, (again) I’m happy to reveal this DIY no-sew, built-in bench cushion tutorial.
SUPPLIES:
Particleboard Sheet
Batting
3″ Foam
Fabric
Staple Gun and Staples
Electric Carving Knife
Scissors
Marker
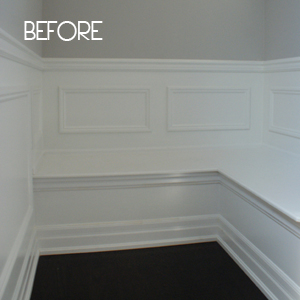
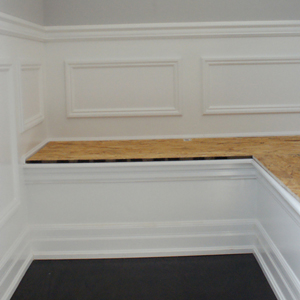
STEP #1: Measure the length and width of your bench, then subtract 1/2″ from each measurement. This will allow for the bulk that your final product will create.
STEP #2: Go to Home Depot with your measurements and have them cut a piece of particleboard to your specifications. (Particleboard is the least expensive wood-sheet they have, and 1 or 2 cuts are always free!)
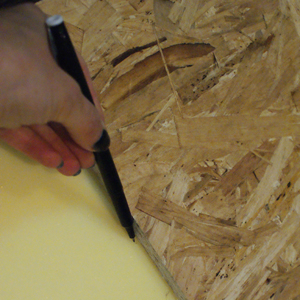
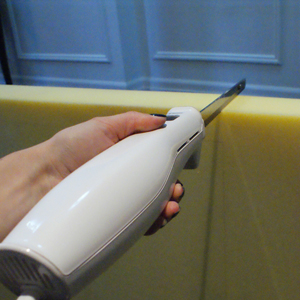
STEP #3: Lay out your board(s) on your foam piece, with as many sides as you can flush with the foam, then trace around the board with a marker.
STEP #4: With your electric carving knife, (You will get the sharpest cuts with this kitchen tool, a knife will create very jagged edges) cut around the traced lines. Be careful not to cut the floor or your fingers!
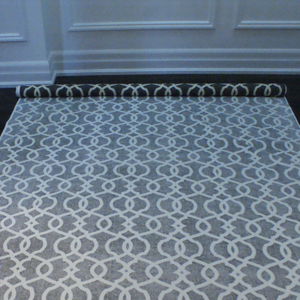
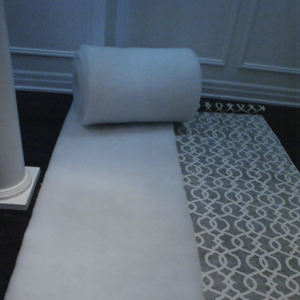
STEP #5: Lay out your fabric, right-side down, on a large flat work surface (the floor is great!)
STEP #6: Lay your batting on top of the fabric, with the edge flush with the edge of fabric. Depending on the width of your bench you may need to cut another length of batting and put it right next to the first piece, in order to cover the width of your board. Don’t worry about straight lines, as long as the two batting pieces are pushed up close to each other, nothing else will be visible.
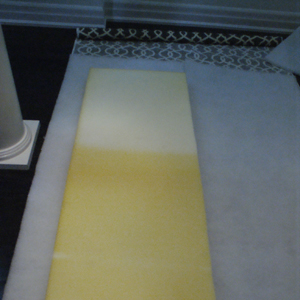
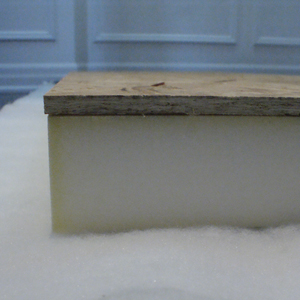
STEP #7: Now place your cut foam piece on top of the fabric and batting layers, leaving enough edge around it so that it can be pulled up and around all the layers and can be securely stapled. No measurement is necessary, just leave whatever amount you feel comfortable with for stapling.
STEP #8: Finally, lay your cut particleboard on top of the foam, leaving you with four layers. Double check that you have enough width of the fabric and batting layers to comfortably be able to staple in place
STEP #9: Cut out the fabric and batting so you are ready to staple.
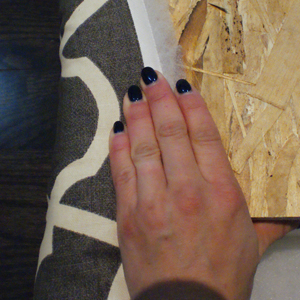
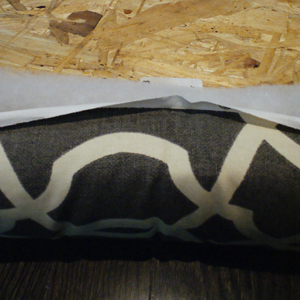
STEP #10: Starting in the middle of one side, tightly pull up the fabric and batting around the foam and board layers, and put one staple to secure in place. Repeat for the middle of each side, remembering to pull the fabric tightly to ensure a flat surface on the final product.
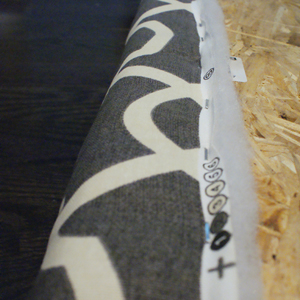
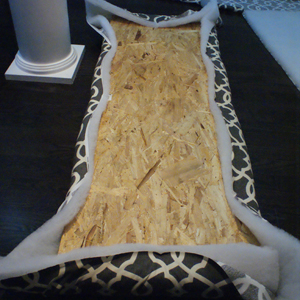
STEP #11: Now continue to staple across each side approximately every 1/2″, leaving the corners to last.
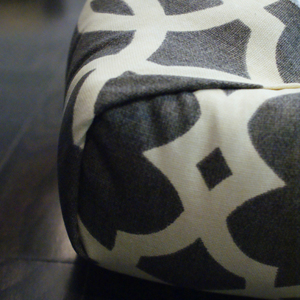
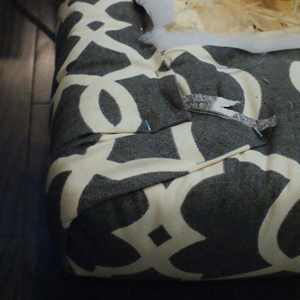
STEP #12: Trim any excess batting and bulk and tightly fold a sharp corner by tucking in the fabric until you have a nice clean line, like in above photo. This step may take some time as you fold and tuck until there is no bunching of the fabric on either side of the corner. Secure with one staple.
STEP #13: Continue to staple all edges of excess fabric down securely. Repeat for each corner.
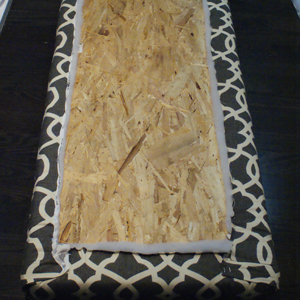
STEP #13: You should now have all sides and corners securely stapled down flat. If there is any remaining excess fabric or batting, you can trim if off. Turn over to see your finished product.
STEP #14: Lay your built-in bench cushion in place on your bench and enjoy your new cozy nook!
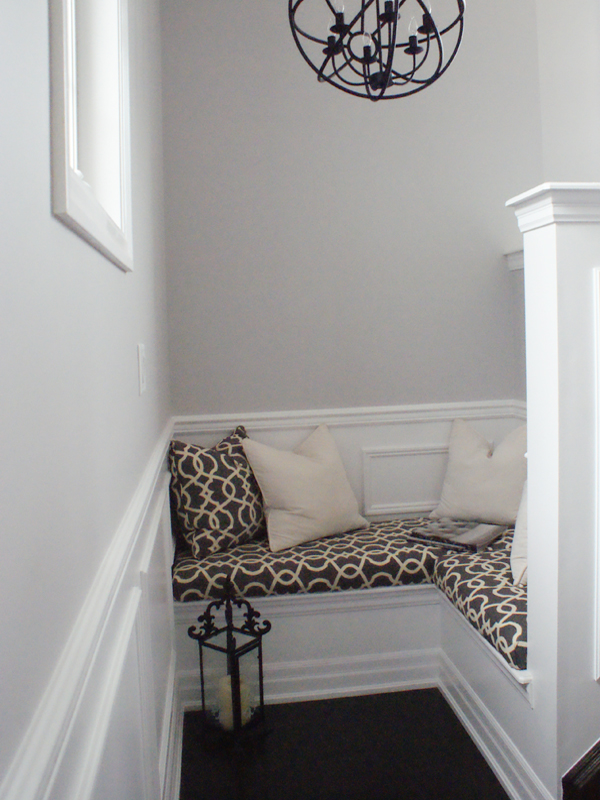
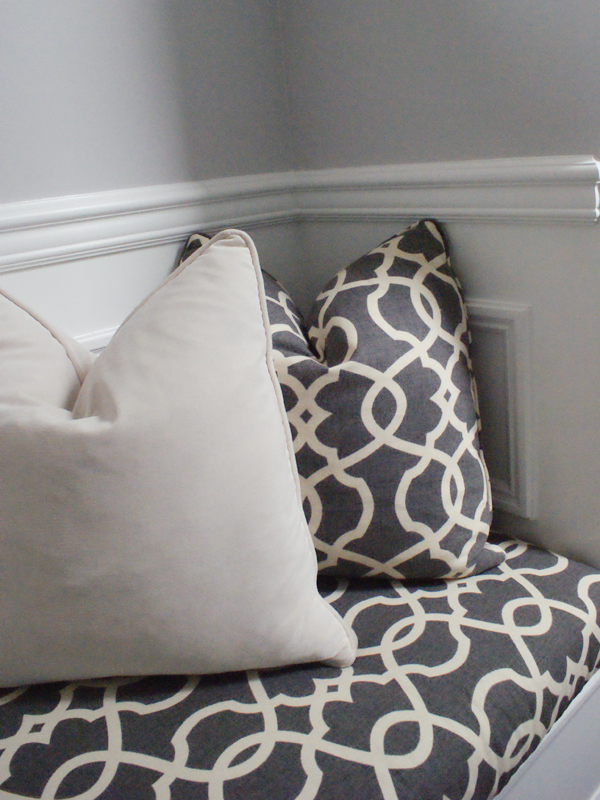
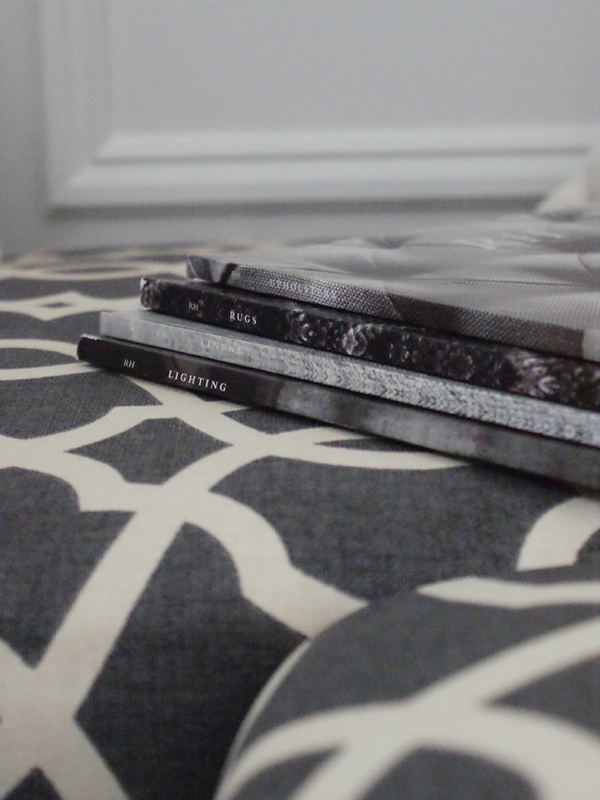
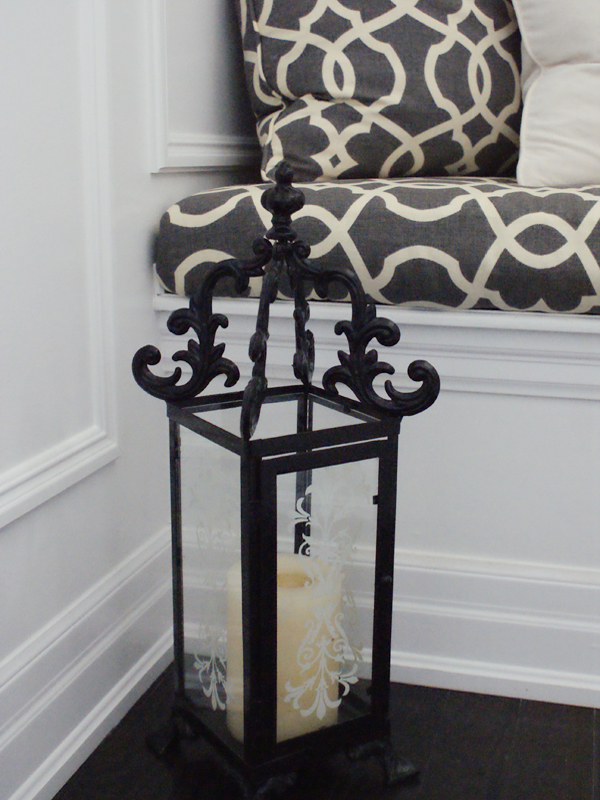
Sources: Fabric: European Textiles l Pillows: Decor Rest l Catalogues: Restoration Hardware l Lantern: Camilla House Imports l Candle: Homesense l Chandelier: Bethel International l Foam, Batting: NDF Fabrics l Particle board: Home Depot


How cool is this! I love it
Thanks so much!!
Fabulous!! If I already have the cushion, how do I attach to backside for outdoor patio set? Thank you
Hi Alayne, You still need to get a piece of plywood cut to the size of your cushion, then you can just staple your new fabric over your existing cushion onto the board. Hope this helps!
This is so wonderfully easy to do but it looks professional! I love it! Thank you. :)
Love this! Thanks for posting!
Quick question. Did you wrap the foam around the plywood as well or just the batting and fabric?
Thanks!
Hi Nancy, The foam was just on the top, cut to the exact same size as the plywood. Then batting and fabric wrapped around the edges. Hope this helps!!
Is there a specific type of fabric that works better that others? what kind of fabric did you use?
Hi! I like to use heavy-weight fabric for durability and so that when you pull it to staple, the fabric isn’t going to tear or shift. Hope this helps!